Photogrammetry software is a powerful tool that allows users to create high-quality 3D models from 2D images. By effectively utilizing this technology, you can significantly enhance image quality and detail. This article outlines key steps and techniques to improve image quality using photogrammetry software.
Understanding Photogrammetry
Photogrammetry involves taking multiple photographs of a subject from various angles and using software to analyze these images. The software then constructs a 3D model by identifying common points in the images. The quality of the final model depends heavily on the initial images and processing techniques.
Key Factors in Image Quality
To achieve high-quality outputs, consider the following factors:
- Image Resolution: Higher resolution images capture more detail.
- Lighting Conditions: Consistent and adequate lighting reduces shadows and highlights, leading to better texture mapping.
- Camera Settings: Use manual settings to control exposure, ISO, and focus for optimum results.
Steps to Improve Image Quality
1. Capture High-Quality Images
- Use a Quality Camera: A DSLR or mirrorless camera will provide better image quality than a smartphone.
- Ensure Overlap: Capture images with at least 60-80% overlap to help the software stitch them together accurately.
- Maintain Consistent Angles: Systematically photograph the subject from all angles, ensuring uniformity.
2. Optimize Image Processing
- Pre-Processing: Use software like Adobe Lightroom to enhance images before importing them into photogrammetry software. Adjust brightness, contrast, and color balance to maximize detail.
- Import Images: Load your optimized images into the photogrammetry software.
3. Use Software Features
- Photo Alignment: Ensure that the software effectively aligns photos. Check for any misalignments that might affect the final model.
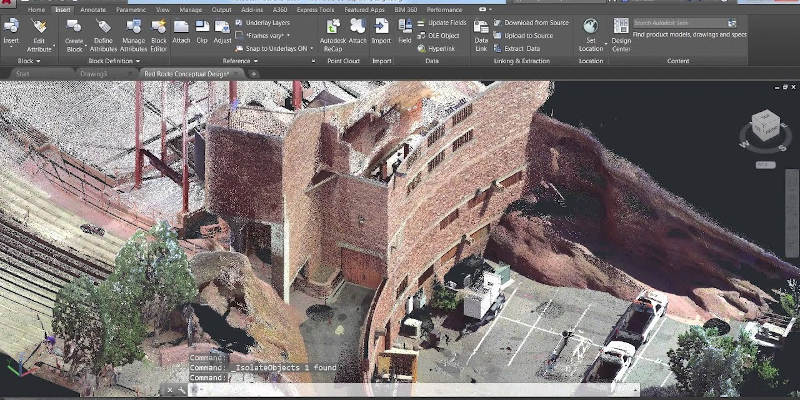
- Dense Point Cloud Generation: Opt for high-density point clouds to capture finer details in your model.
- Mesh Creation: Build a detailed mesh that accurately represents the surface of the object.
4. Texture Mapping
- Apply High-Resolution Textures: Use the original images for texture mapping. The better the quality of the images, the more realistic the textures will be.
- Refine Textures: Some software allows you to refine textures post-creation, enhancing the appearance of the model.
5. Exporting and Post-Processing
- Export in Diverse Formats: Choose formats that retain detail, such as OBJ or FBX, depending on your intended use.
- Post-Processing: Use software like Blender or Photoshop for final touches, including color correction and additional detailing.
Conclusion
Improving image quality using photogrammetry software involves careful planning, high-quality image capture, and effective use of software features. By following these steps, you can create detailed and realistic 3D models suitable for various applications, from archaeology to gaming. Mastering these techniques not only enhances your projects but also expands your creative capabilities in the digital realm.


