Carpet installation can be a game-changer when it comes to enhancing the aesthetics and comfort of your home. If you’re looking to upgrade your living space with a luxurious and cozy touch, you’re in the right place. In this comprehensive guide, we’ll take you through the step-by-step process of carpet installation, sharing expert tips and insights to ensure a flawless result. Whether you’re a seasoned DIY enthusiast or a complete beginner, our instructions will help you achieve that perfect home upgrade you’ve been dreaming of.

Preparation: Gathering Your Tools and Materials
Before diving into the world of carpet installation, it’s essential to prepare adequately. Here’s what you’ll need:
- Carpet: Choose the type and color that suits your space best. Make sure to measure the area accurately to purchase the right amount.
- Padding: High-quality padding is crucial for comfort and extending the carpet’s lifespan.
- Tack Strips: These are used to hold the carpet in place along the edges of the room.
- Adhesive or Carpet Tape: Depending on the type of installation, you’ll need adhesive or tape to secure the carpet.
- Knee Kicker: This tool helps stretch the carpet properly.
- Power Stretcher: A power stretcher is ideal for larger rooms, ensuring a tight and smooth fit.
- Carpet Knife: A sharp carpet knife is necessary for precision cutting.
- Seam Roller: To press down seams and ensure they blend seamlessly.
- Stair Tool: If you have stairs, a stair tool is essential for a neat and secure installation.
Step 1: Removing the Old Carpet
The first step in carpet installation is to remove the old carpet. Start by carefully cutting the old carpet into manageable strips and roll them up for easy disposal. Be sure to check for any staples or tacks left behind and remove them to create a smooth surface for the new carpet.
Step 2: Preparing the Subfloor
Once the old carpet is removed, inspect the subfloor for any imperfections, such as uneven surfaces or damage. Repair and clean the subfloor as necessary to create a solid and smooth foundation for the new carpet. If needed, you can use underlayment to address minor imperfections.
Step 3: Installing Padding
Lay down the padding across the entire floor, trimming it to fit the room’s dimensions. Make sure the padding is secure and doesn’t overlap. Proper padding is essential for comfort and to prevent the carpet from wearing out prematurely.
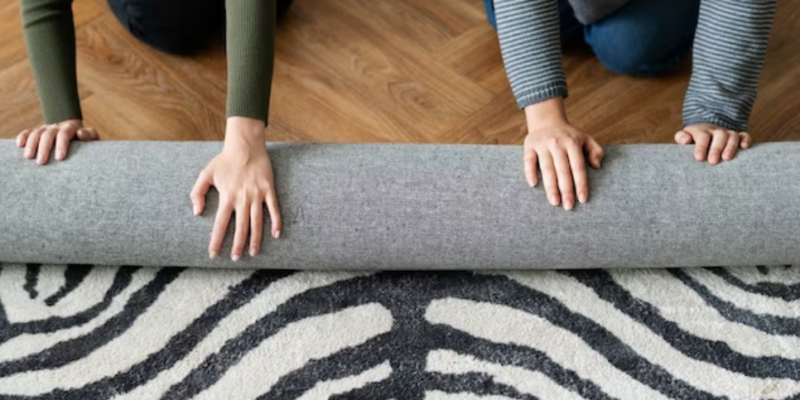
Step 4: Positioning and Cutting the Carpet
Unroll the carpet and align it with the room’s dimensions, leaving excess material on all sides. Use a carpet knife to trim the carpet to fit, leaving a little extra around the edges for a snug fit. Ensure patterns and designs are appropriately aligned.
Step 5: Securing the Carpet
Depending on your carpet type, you’ll either use adhesive or carpet tape along the edges to secure the carpet. Use a knee kicker and a power stretcher to ensure the carpet is tight and free from wrinkles.
Step 6: Trimming and Seaming
Trim any excess carpet along the edges and use a seam roller to press down on seams, ensuring they blend seamlessly. Careful trimming and seaming are crucial for a polished look.
Conclusion
Carpet installation is a rewarding DIY project that can transform your home’s ambiance. By following these expert tips and the step-by-step process outlined here, you can achieve a perfect home upgrade that’s not only aesthetically pleasing but also comfortable. Remember, proper preparation, precise measurements, and attention to detail are key to a successful carpet installation. So, roll up your sleeves, gather your tools, and start your journey towards a cozier and more stylish living space today.